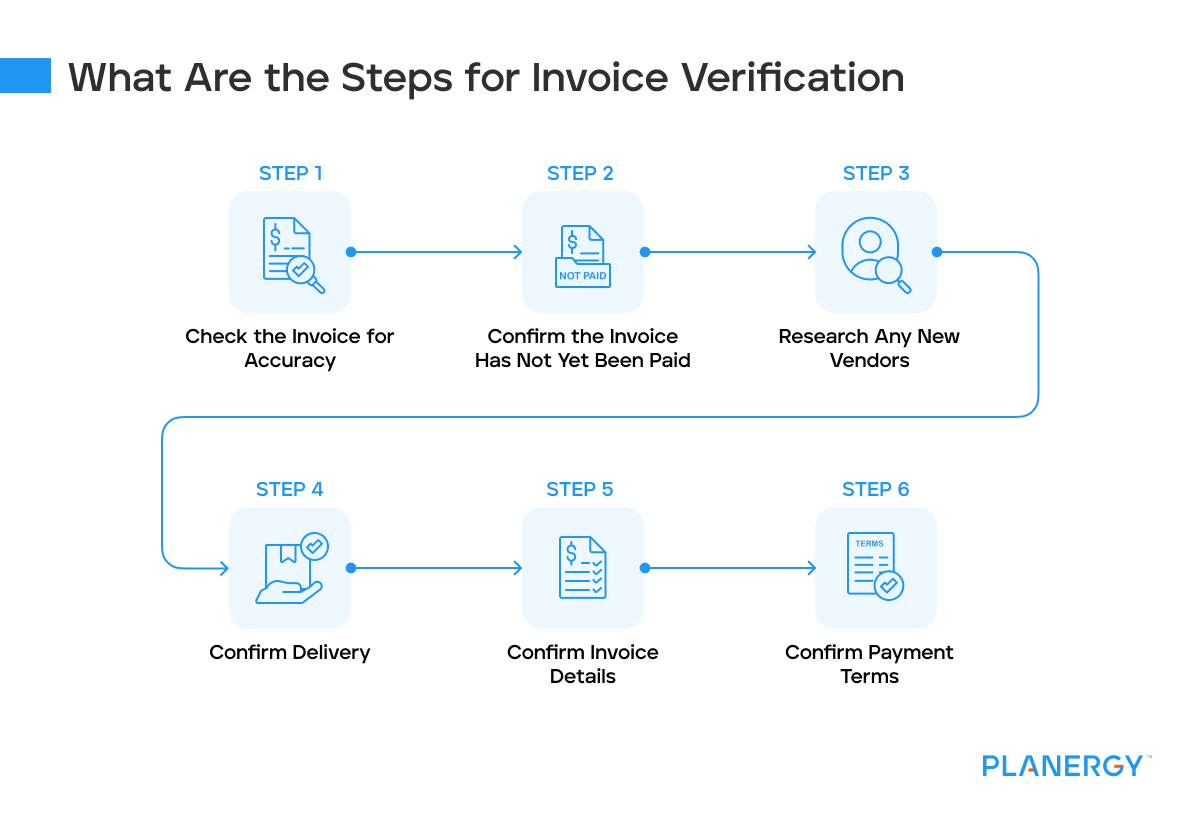
In most cases, invoice verification can be completed using the following steps when processing invoices.
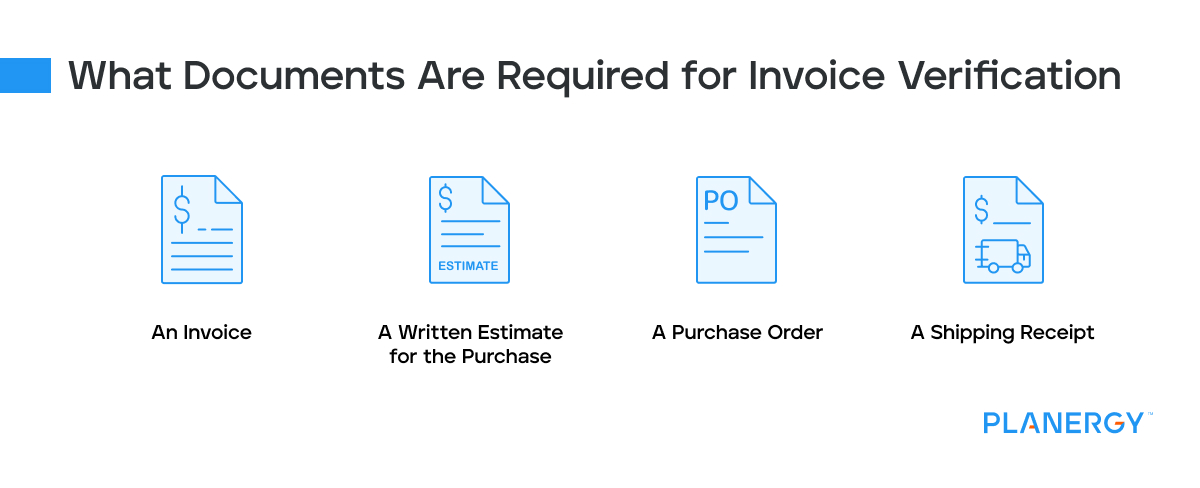
If you have all of your supporting documents in place, you’re ready to begin the invoice verification process.
Check the Invoice for Accuracy
Before you begin to compare invoice information against a purchase order or shipping receipt, you should first examine the invoice itself to ensure that it’s not a forgery.
Today, fraudulent invoices are often professional in appearance and designed to fool even the most discerning eye. In other cases, a fraudulent invoice may be spotted just by looking at the appearance of the invoice.
Fake invoices usually include telltale signs such as inaccurate or missing logos, typos, and mismatched colors, but in some cases, a fake invoice may look exactly like your regular vendor or supplier invoices.
If you’re unsure if an invoice is authentic, you can conduct further research by comparing the current invoice to past invoices from the same vendor or supplier.
Take a few minutes to compare the vendor contact information such as purchase order number, service provider, return address, and email to see if it matches the ones listed in the vendor file.
If it doesn’t, you may need to contact the vendor or supplier directly for verification.
Confirm That the Invoice Has Not Yet Been Paid
You can confirm this by searching invoice numbers to see if there’s a match. This is a simple process for those using an automated AP system, like PLANERGY, that will flag duplicate invoice numbers immediately.
However, for those using a manual system, invoices are often paid twice because the invoice number has a typo or is recorded differently.
The best way to manually verify if an invoice has already been paid is to search recent payments to that vendor or supplier or search invoice payments made for the same amount.
Research Any New Vendors
If the invoice is from a new vendor, be sure to first verify the authenticity of the vendor before moving on to verifying invoice information.
This can be done by checking the vendor file, making sure the vendor was approved properly, and then checking with the department that ordered the product or service to verify that the order is authentic.
Confirm Delivery
If you have a shipping or goods receipt, delivery confirmation can be completed during the three-way matching process.
But if you receive an invoice for services rendered, whether it’s to repair a leaking roof or for temp services in the admin department, you’ll need to confirm with the appropriate parties that the services were delivered as described in the invoice.
Be sure to check delivery notes on the receipt if they’re available.
Confirm Invoice Details
Once you’ve determined that both the invoice and the vendor are authentic, you can then move on to verifying the rest of the invoice.
This is done using three-way matching, which matches invoice information to a purchase order and delivery receipt.
If no issues are found during the review, the invoice can be sent for approval or payment processing.
However, if a discrepancy is found, the vendor will need to be contacted to make any necessary changes, including adjusting the due date, before the invoice can be paid.
Confirm Payment Terms
Incorrect payment terms can cause a delay in invoice verification and payment approval, resulting in late charges and other penalties.
It’s important to confirm that the payment terms listed on the invoice are the same terms that have been previously negotiated.
Many times, a salesperson can agree on payment terms with a customer only to have the terms overridden by a manager.
For example, if you negotiated Net 60 terms with one of your vendor’s salespeople, but the company only offers Net 30 terms, there will be an issue when payment is due.
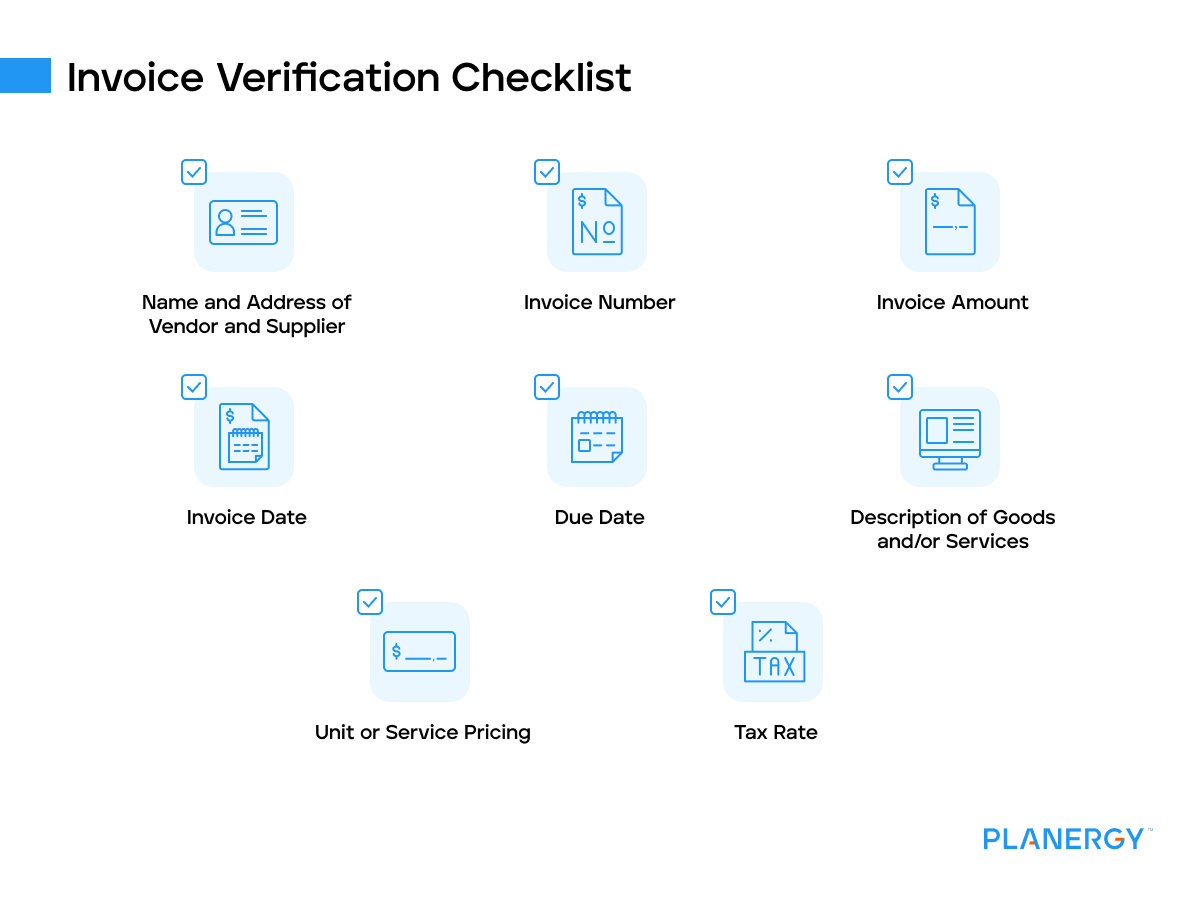
Having an invoice checklist handy can help AP staff remain vigilant about processing invoices properly, avoiding potential late payments.
")
")
")
