What's PLANERGY?

Modern Spend Management and Accounts Payable software.

Helping organizations spend smarter and more efficiently by automating purchasing and invoice processing.

We saved more than $1 million on our spend in the first year and just recently identified an opportunity to save about $10,000 every month on recurring expenses with PLANERGY.

King Ocean Logo

Cristian Maradiaga

King Ocean

Download a free copy of "Preparing Your AP Department For The Future", to learn:

  • How to transition from paper and excel to eInvoicing.
  • How AP can improve relationships with your key suppliers.
  • How to capture early payment discounts and avoid late payment penalties.
  • How better management in AP can give you better flexibility for cash flow management.

How to Import a CSV into QuickBooks Online and Desktop

How to Import a CSV into QuickBooks

Using a bookkeeping or accounting software application like Intuit’s QuickBooks Online or QuickBooks Desktop helps you manage your accounting transactions. But what happens when you’re tracking transactions on a spreadsheet application?

Will you need to spend hours entering transactions into your accounting software application manually, or is there an easier way to get those transactions into your company file?

Fortunately, both QuickBooks Online and QuickBooks Desktop include the ability to import a CSV file into the application, eliminating the need to manually enter those spreadsheet transactions.

We’ll cover exactly what a CSV file is, what type of transactions can be imported using a CSV file, and include the steps needed to import a CSV file into QuickBooks Online and QuickBooks Desktop applications.

What Is a CSV File?

A comma-separated values file or CSV file is a plain text file that uses a specific file format to store data in columns and rows.

Because of its compatibility with several software applications, using a CSV file for both importing and exporting data can save accounting staff a lot of time while helping to ensure that financial data is accurate.

A typical CSV file uses a simple structure, with data separated by commas. For example, a CSV file used to record customer data may look like this:

Customer Name, Address, Email, Phone Number

You’ll notice that each data category is separated by a comma, making it easy to use the data in another format.

And because CSV files are compatible with a variety of applications, the data can be easily imported into a variety of applications, including QuickBooks Online and QuickBooks Desktop.

It’s important to note that CSV files do not differentiate between text and numbers and the format offers limited support for special characters, which may create a problem, depending on how the data is being used.

What Type of Information Can I Import Into QuickBooks Using a CSV File?

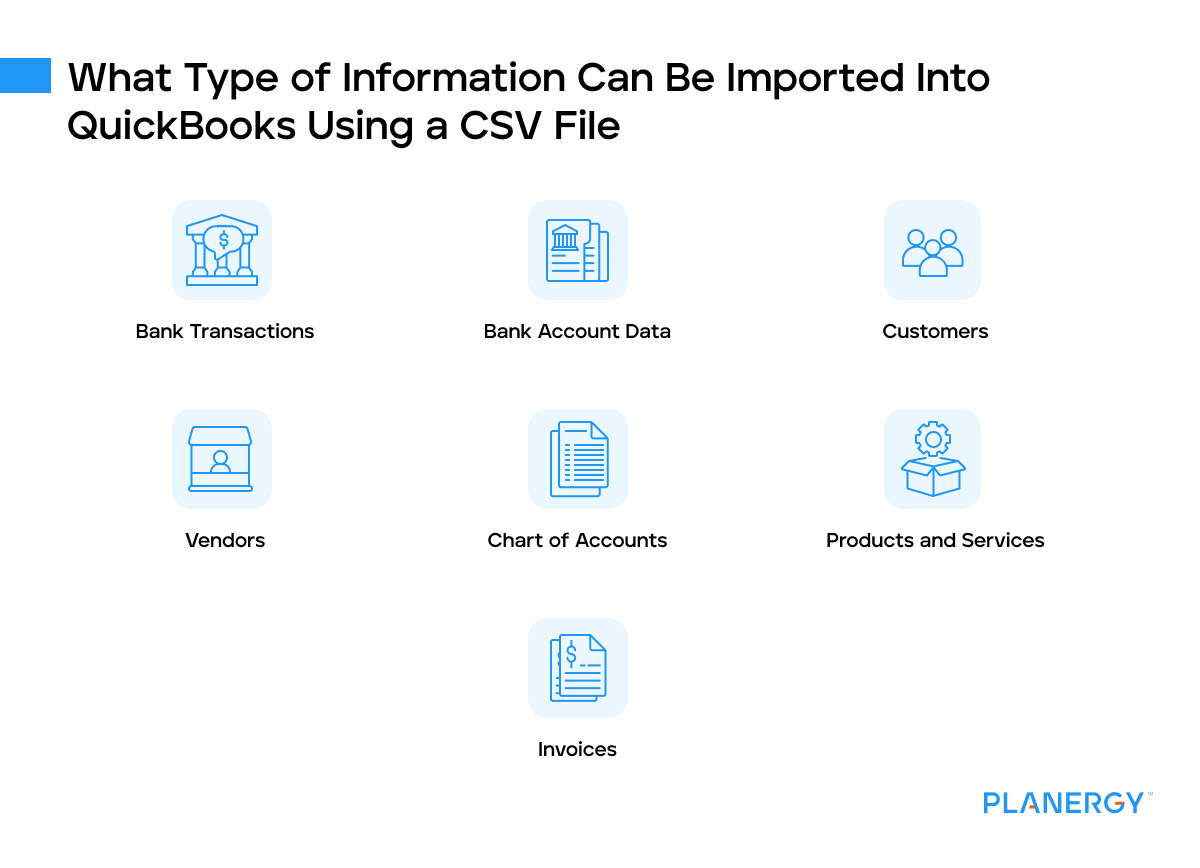
You can import bank transactions as well as bank account data including your bank feed into your QuickBooks account using a CSV file.

You can also import these allowed fields:

What type of information can be imported into QuickBooks using a CSV file

  • Bank Transactions
  • Bank Account Data
  • Customers
  • Vendors
  • Chart of Accounts
  • Products and Services
  • Invoices

Sales receipts, credit card transactions, bills, purchase orders, and product and service items can also be imported into QuickBooks Online from QuickBooks Desktop applications.

How Can I Import a CSV File Into QuickBooks Online?

To import a CSV file into QuickBooks Online, follow these steps:

  1. Step: Login to QuickBooks Online.
  2. Step: Click on the Gear icon at the top of the page.
  3. Step: Click on the Import Data option located in the Tools column.
  4. Step: Locate the specific file type that you wish to import.
  5. Step: Review the ‘What’s Required’ option if you’re unfamiliar with the CSV import process.
  6. Step: Once you’re familiar with the file requirements, click on the Browse button to access the dropdown menu, where you can locate the specific file that you wish to import.
  7. Step: Map spreadsheet columns from your CSV file to the appropriate places in QuickBooks.
  8. Step: Click Review to review the list of files displayed that will be imported.
  9. Step: Once reviewed, click Yes and then Start Import.

How Can I Import a CSV File Into QuickBooks Desktop?

QuickBooks Desktop requires a special plugin to be able to import CSV files.

The toolkit contains a manual with installation instructions, a CSV file folder with example CSV files, an XLS file folder with Excel file examples, and a reference guide that provides details on what fields can be imported.

Follow these steps to download and install the toolkit.

  1. Download QuickBooks Import Excel and CSV Toolkit

    Download the QuickBooks Import Excel and CSV Toolkit, then click Save to save the files. The download is only available for those using Windows versions of QuickBooks Desktop.

  2. Extract the Files

    After the toolkit has been downloaded, you’ll need to double-click on the file which will open the WinZip Self-Extractor window.

  3. Browse To Choose the Correct Folder To Install the Files

    Choose the correct folder to install the extracted files. Once the folder is selected, click OK.

  4. Select Unzip To Extract Files

    Now you’re ready to extract the files. Select the Unzip option on your screen and then select Close to close the extractor. Once you’re ready to begin importing CSV files, open the folder.

    Once you’ve installed the toolkit following the above steps, you’re ready to import CSV files.

    1. Step: Open your QuickBooks Desktop application.
    2. Step: Click on the File option.
    3. Step: Click on Utilities.
    4. Step: Select Import from the menu.
    5. Step: Select the type of data you wish to import such as a customer list, vendor list, or inventory list.
    6. Step: Select CSV as the type of file you wish to import.
    7. Step: Browse your files to select the correct CSV file from your computer.
    8. Step: Match the columns on your CSV files with the QuickBooks equivalent. For example, if the customer data fields in QuickBooks are Name, Address, Phone Number, and Email Address, your CSV spreadsheet columns must follow the same structure.
    9. Step: Click on Review to review the file before importing.
    10. Step: Click on Import to import the CSV file into QuickBooks Desktop.

    Once you finish the importing process, you can further review the uploaded transactions for accuracy.

Why Won’t My CSV File Upload to QuickBooks?

Importing a CSV file into QuickBooks is fairly easy, but what happens if you’re unable to import the file? If you’re receiving an error, consider the following.

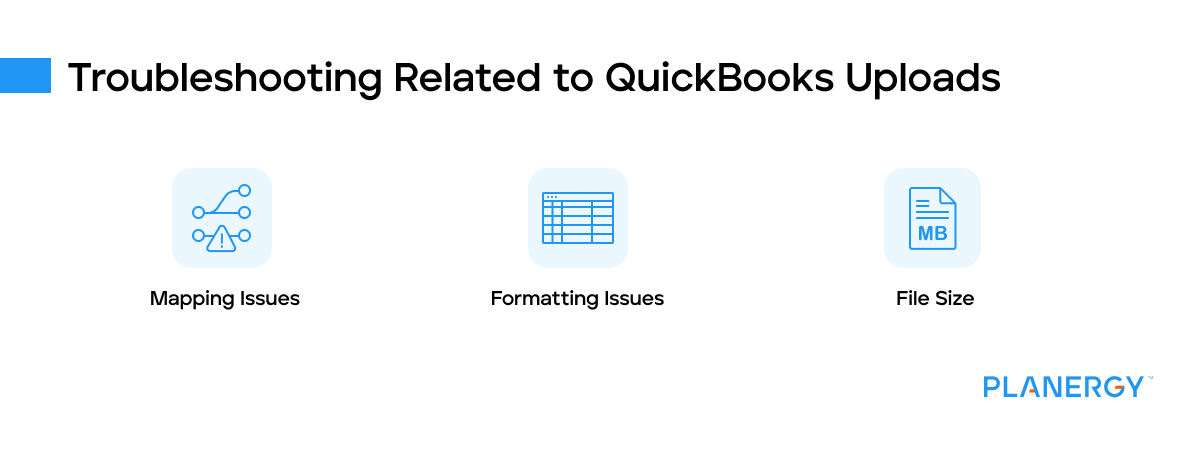
Troubleshooting related to quickbooks uploads

  • Mapping Issues

    One of the more common issues incurred during the CSV importing process is the incorrect mapping of columns.

    To eliminate incorrect mapping, be sure to review any CSV file that you wish to import to ensure that the columns match those in QuickBooks.

    You may want to delete any columns that you don’t need from the CSV file before attempting to import the file.

    You’ll also want to be sure that QuickBooks required columns are included in the CSV file. Those are:

    • Date column
    • Description column
    • Amount column

    If you’re missing one of these columns, the CSV file will not import. You may also want to change your column names to match QuickBooks column categories.

  • Formatting Issues

    Your CSV format is important, which is why using a template or properly formatted worksheet can help eliminate many potential formatting issues.

    Another way to avoid potential formatting issues is to keep your columns free from special formatting. For example, if your numbers column is set to Currency, change the formatting to General.

    Other special characters that may be in your columns may also be causing problems, so make sure to remove them before trying to upload the file.

    Date formatting can also be an issue, so make sure to change your column format to Short Date to eliminate any date issues.

  • File Size

    Your file size may be too large. This isn’t usually the case in QuickBooks, but if your file is exceptionally large, it won’t be able to be imported.

    The easiest way to prevent these types of errors is to review the CSV file before importing to eliminate any potential issues ahead of time.

How Do I Import Transactions From Excel to QuickBooks?

Importing transactions from Microsoft Excel into QuickBooks follows the same process as importing CSV files. The only exception is that you will choose Excel Files as the type of file you wish to import rather than a CSV file.

For QuickBooks Desktop, the QuickBooks Desktop Toolkit mentioned above, can be used for both CSV and Excel file imports. For QuickBooks Online, you’ll simply choose Excel as the type of file you want to import.

How To Convert a CSV File to QBW?

While it’s easy to import a CSV or Excel file into QuickBooks, neither QuickBooks Desktop nor QuickBooks Online offer the ability to convert a CSV or Excel file into either the QBW format used by QuickBooks Desktop or the QBO format used by QuickBooks Online.

Instead, it’s recommended that those interested in converting a CSV or Excel file rather than importing it use a third-party converting software.

Why Is the Ability To Import a CSV File Important for Businesses?

The ability to import a CSV file into QuickBooks can save small business owners hours of manual data entry.

The ability to import CSV files can also be useful if you’re making the transition from a manual accounting system that uses spreadsheets to an accounting software application.

Importing a CSV file into QuickBooks also provides the following benefits:

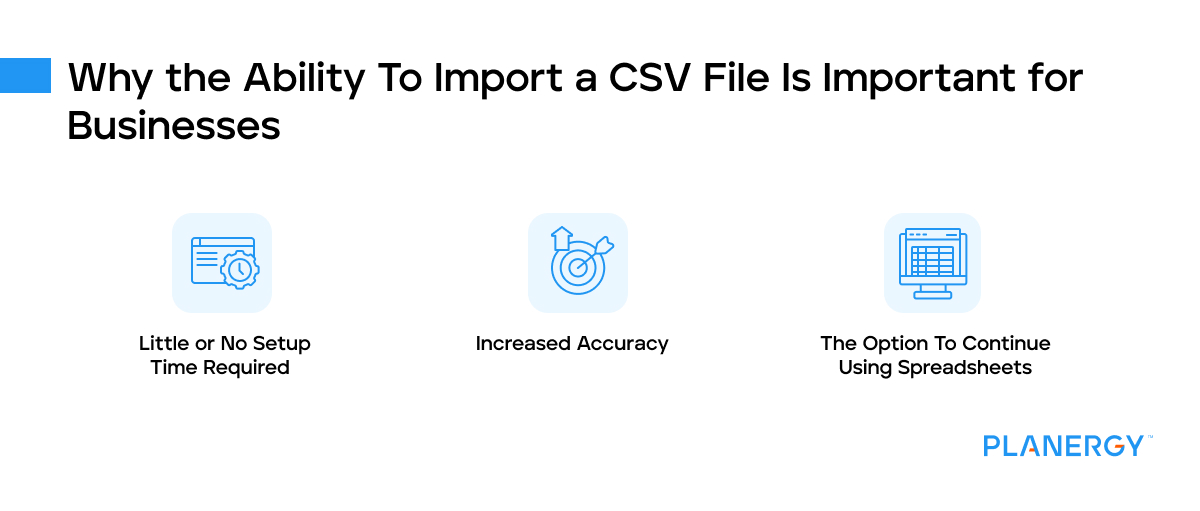
Why the ability to import a CSV file is important for businesses

  • Little or No Setup Time Required

    Imagine the labor hours required if you were to enter all of your past financial transactions manually into QuickBooks Desktop or QuickBooks Online.

    By importing CSV files directly into the accounting software, you can bypass much of the required system setup and save yourself days of work in the process.

  • Increased Accuracy

    The more data entry you’re required to do, the more likely it is that typos and transpositions occur, skewing your numbers and requiring additional work to locate and correct the errors.

    Even worse, you may not even know that a number has been entered wrong until you reconcile your accounts, which can lead to erroneous financial statements and the possibility of overdrawn accounts.

  • The Option To Continue Using Spreadsheets for Your Business

    If you still need to use spreadsheets in your business to track financial data, the option to import the information on the spreadsheet directly into your accounting application eliminates the need for duplicate data entry while allowing you to still manage your finances the way you prefer.

QuickBooks, CSV Files, and Planergy

Using CSV files to keep your QuickBooks financial data updated is a time saver. But to save even more time, consider using your QuickBooks application with a procure-to-pay application like Planergy.

With one-click integration with QuickBooks available, you’ll be able to better manage your procurement processes, with the ability to manage all stages of procurement from the initial request to approval.

What’s your goal today?

1. Use PLANERGY to manage purchasing and accounts payable

We’ve helped save billions of dollars for our clients through better spend management, process automation in purchasing and finance, and reducing financial risks. To discover how we can help grow your business:

2. Download our guide “Preparing Your AP Department For The Future”

Download a free copy of our guide to future proofing your accounts payable department. You’ll also be subscribed to our email newsletter and notified about new articles or if have something interesting to share.

3. Learn best practices for purchasing, finance, and more

Browse hundreds of articles, containing an amazing number of useful tools, techniques, and best practices. Many readers tell us they would have paid consultants for the advice in these articles.

Business is Our Business

Stay up-to-date with news sent straight to your inbox

PLANERGY LOGO

Sign up with your email to receive updates from our blog